TapController Unity3d tutorial
-
by Christian Engvall
- June 7, 2016
- 0

Please share this post with your friends


In this TapController Unity3d tutorial we’ll create a script that will work so that when the player taps the screen, a force is added to a GameObject. This technique is used in Friendsheep.
This code is open sourced, and you can download it from the unity examples repository. This is the finished TapController.cs.
As an example have a look at this video. Everytime a player taps the screen on his or hers android or iphone, the sheep get new force added.
1. Add GameObjects
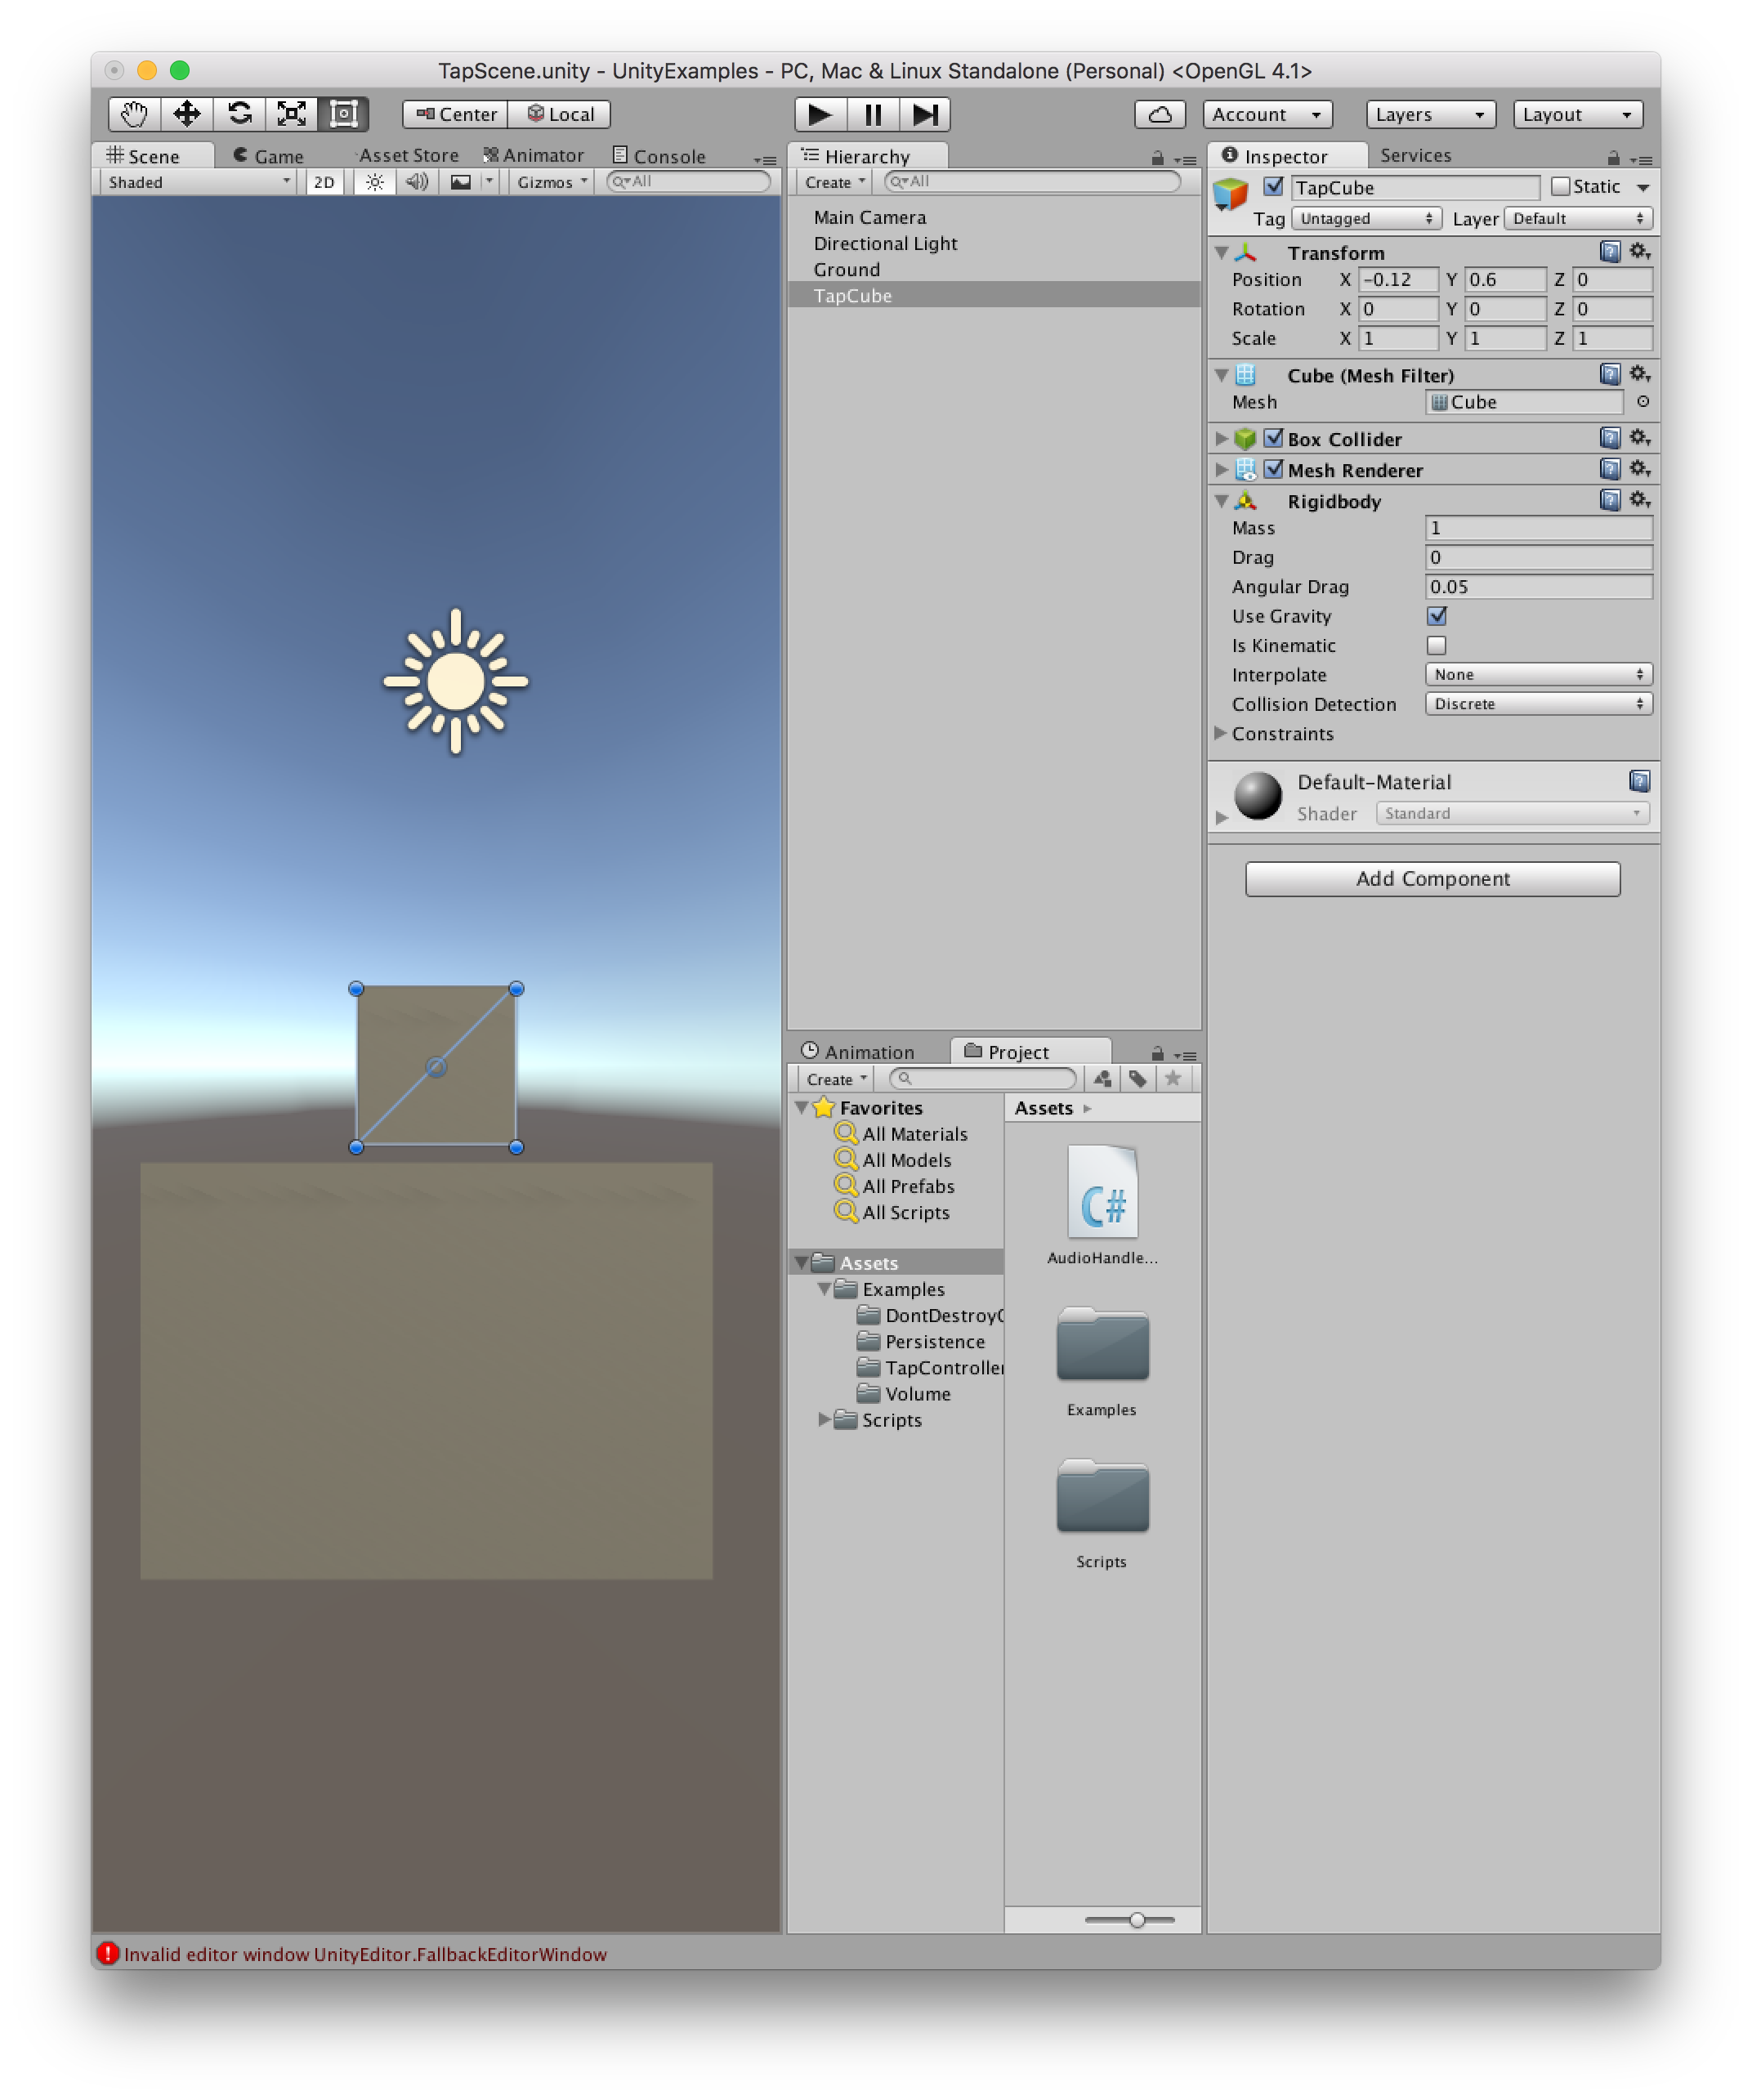
Start of by adding two cubes from the menu GameObject -> 3D Object -> Cube. We’ll use one of them as grounds and one of them as our gameobject which we’ll add our tap controller to. Lets call this one TapCube from now on.
The TapCube also need a rigidbody so add this as well.
The scene now looks like this:
2. Add Tap controller script
Now add a new script called TapController on TapCube and open it in your editor.
Start of the script by adding two instance variables called rigidBody and jumpForce. Making the script look like this:
using UnityEngine;
using System.Collections;
public class TapController : MonoBehaviour {
public Rigidbody rigidBody;
public Vector2 jumpForce = new Vector2(0, 4f);
void Start () {
}
void Update () {
}
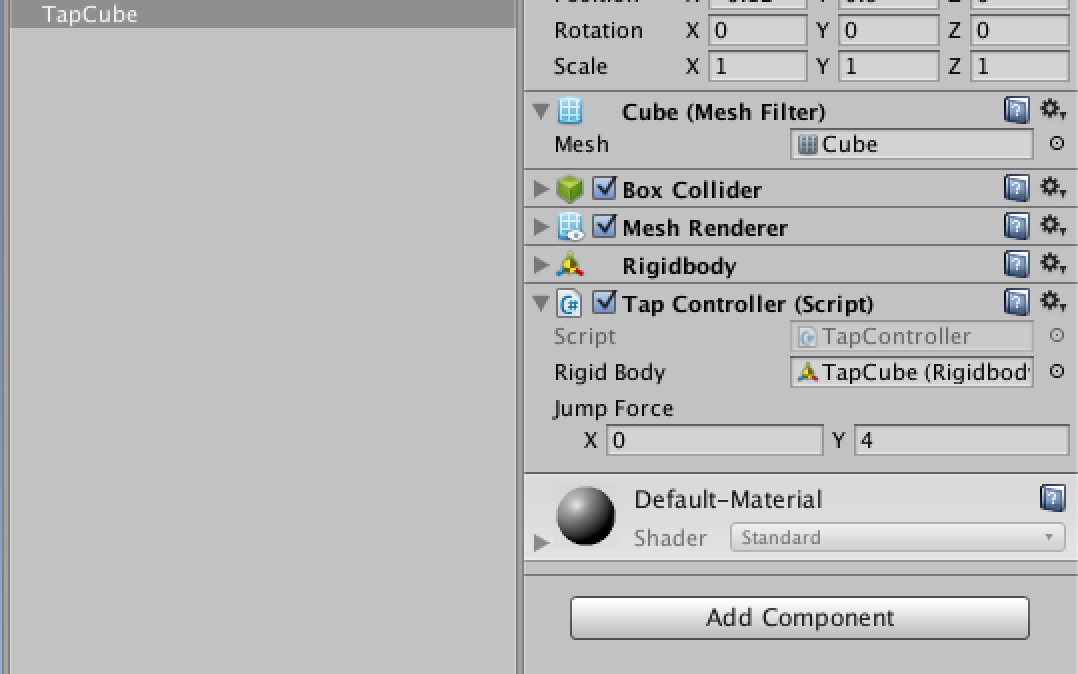
}When this is done you also need to drag the rigidbody of TapCube to the rigidBody variable of the TapController script:
3. Look for user touch
Create a method in TapController.cs that’s named UserDidTapOnPhone(). The method will look like this:
private bool UserDidTapOnPhone() {
    var didTap = false;
    foreach(Touch touch in Input.touches) {
        if(touch.phase == TouchPhase.Began) {
            didTap = true;
        }
    }
    return didTap;
}
In this method we loop through all the Input.touches That property returns a list with objects that contains all the touches during last frame. If the touch is TouchPhase.Began then the user tapped the screen of the phone, so we return true.
4. Add force to GameObject
Now add a method called AddForceToGameObject() looking like this:
private void AddForceToGameObject() {
    this.rigidBody.velocity = Vector2.zero;
    this.rigidBody.AddForce(this.jumpForce, ForceMode.Impulse);
}
We are setting the velocity to Vector2.zero because in this tutorial we don’t need it. You can use it for example:
“A typical example where you would change the velocity is when jumping in a first person shooter, because you want an immediate change in velocity.”
Then we use the AddForce() method on the rigidbody to make the cube go up in the air. As you can se we use ForceMode.Impulse here. Now that this does is a bit harder to grasp.
To quote Clonkex in a thread about it:
“ForceMode.Force == Force per second
ForceMode.Impulse == Force per frame”
But to explain why we use Impulse is because if we don’t, we might experience a “double jump”, as if the gameObject got twice the force on only one tap, on the GameObject on Android-phones. But it would work well on iOS devices.
5. Putting the two methods in use together
In the update method of TapController.cs you make a call to UserDidTapOnPhone(), and if this returns true, call the AddForceToGameObject() method. The full class now looks like this:
using UnityEngine;
using System.Collections;

public class TapController : MonoBehaviour {

	public Rigidbody rigidBody;
	public Vector2 jumpForce = new Vector2(0, 4f);

	void Update () {
		if (this.UserDidTapOnPhone ()) {
			this.AddForceToGameObject ();
		}
	}

	private void AddForceToGameObject() {
		this.rigidBody.velocity = Vector2.zero;
		this.rigidBody.AddForce(this.jumpForce, ForceMode.Impulse);
	}

	private bool UserDidTapOnPhone() {
		var didTap = false;
		foreach(Touch touch in Input.touches) {
			if(touch.phase == TouchPhase.Began) {
				didTap = true;
			}
		}
		return didTap;
	}
}
This is a fully functional TapController, you can go ahead and test it on your phone. But to make it even better let’s continue with excluding taps on menu/ui items and making it work in the editor as well. To make it work in the editor is useful so that we don’t need to build the game and put in our phone everytime it needs testing.
6. Excluding taps on menu- or ui items
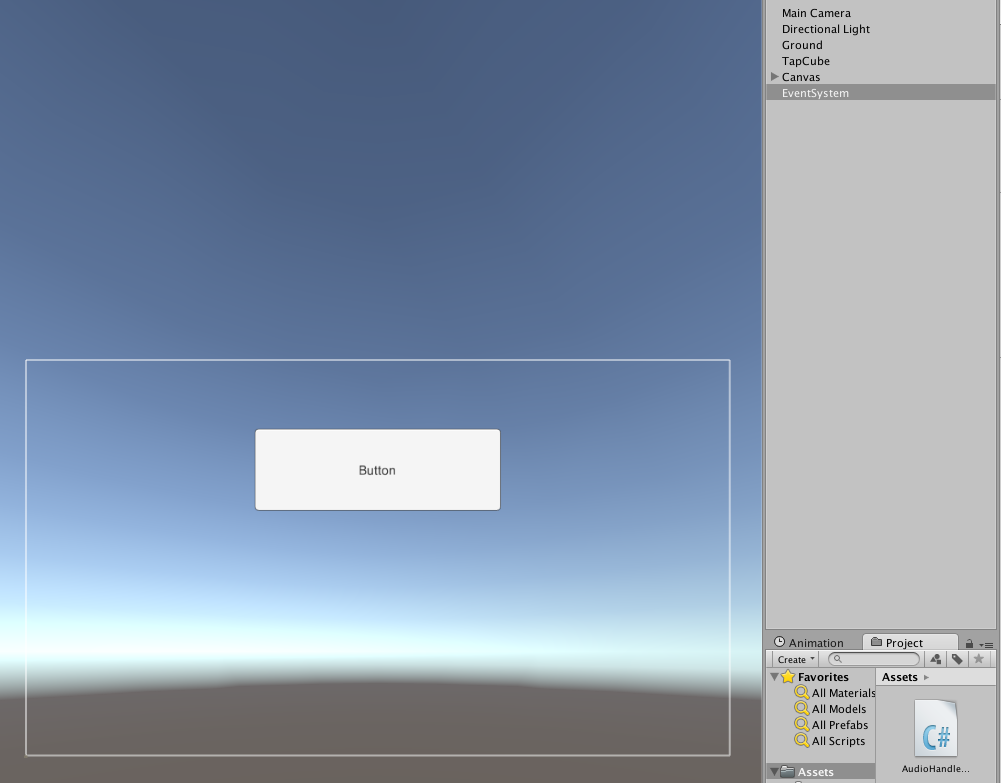
Use GameObject -> UI -> Button to add a button to the scene. You can put it anywhere as long as it’s visible.
Then go back to TapController.cs and add a new using statement:
using UnityEngine.EventSystems;
Now add a method to the class that is called UserTappedOnMenu(), it will look like this:
private bool UserTappedOnMenu() {
    bool didTapMenu = false;
    if(Input.touchCount > 0) {
        int pointerID = Input.touches[0].fingerId;
        if (EventSystem.current.IsPointerOverGameObject(pointerID))
        {
            didTapMenu = true;
        }
    }
    return didTapMenu;
}
First the code checks if the touchCount is larger than 0, if so, the user has tapped the screen.
Then we get the fingerId, which is the unique index for the touch, and store it in pointerID.
Then we do the check if this pointer was over a GameObject in our eventsystem if so, the user tapped our button.
Now it’s time to use this method in the Update() method:
void Update () {
    if (this.UserDidTapOnPhone () && !this.UserTappedOnMenu()) {
        this.AddForceToGameObject ();
    }
}
7. Adding functionality to make the tapcontroller work in Unity editor
Another method needs to be added to TapController.cs for this one. Lets call it UserDidEditorTap():
private bool UserDidEditorTap() {
    var didEditorTap = false;
    if(Application.isEditor && Input.GetKeyUp(KeyCode.Space)) {
        didEditorTap = true;
    }
    return didEditorTap;
}
This code checks if we are running the game in the editor, and if the user has pushed Space. Then returns the result as a bool. Then use this method in the update-method like this:
void Update () {
    if (this.UserDidTapOnPhone () && !this.UserTappedOnMenu() || this.UserDidEditorTap()) {
        this.AddForceToGameObject ();
    }
}
8. The finished TapController.cs
using UnityEngine;
using UnityEngine.EventSystems;
using System.Collections;

public class TapController : MonoBehaviour {

	public Rigidbody rigidBody;
	public Vector2 jumpForce = new Vector2(0, 4f);

	void Update () {
		if (this.UserDidTapOnPhone () && !this.UserTappedOnMenu() || this.UserDidEditorTap()) {
			this.AddForceToGameObject ();
		}
	}

	private void AddForceToGameObject() {
		this.rigidBody.velocity = Vector2.zero;
		this.rigidBody.AddForce(this.jumpForce, ForceMode.Impulse);
	}

	private bool UserDidTapOnPhone() {
		var didTap = false;
		foreach(Touch touch in Input.touches) {
			if(touch.phase == TouchPhase.Began) {
				didTap = true;
			}
		}
		return didTap;
	}

	private bool UserTappedOnMenu() {
		bool didTapMenu = false;
		if(Input.touchCount > 0) {
			int pointerID = Input.touches[0].fingerId;
			if (EventSystem.current.IsPointerOverGameObject(pointerID))
			{
				didTapMenu = true;
			}
		}
		return didTapMenu;
	}

	private bool UserDidEditorTap() {
		var didEditorTap = false;
		if(Application.isEditor && Input.GetKeyUp(KeyCode.Space)) {
			didEditorTap = true;
		}
		return didEditorTap;
	}
}