Testing ios games Part 1- itunes connect
-
by Christian Engvall
- June 24, 2015
- 0
Please share this post with your friends


For ios devices we can use TestFlight for our testing. This guide requires that you already have a developer account at Apple.
This is how honkbark tests Friendsheep.
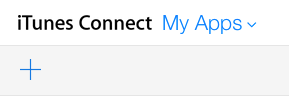
1. First create an iTunes connect record for your app. This is done by logging in at iTunes Connect, then clicking on the My Apps icon and then the Plus icon.
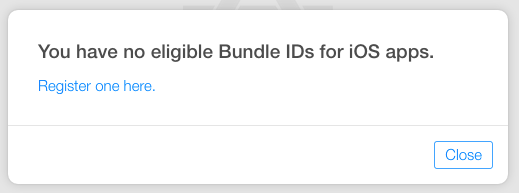
2. If this is your first app you will get prompted to add a eligible bundle ID for the app. Click on register one here.
Add a name, for example my game.
Set the bundle id, example: com.mygamestudios.mygame and click Continue.
(This step did not work in Chrome so I used Safari)
3. Once you’re done with the step above, go back to https://itunesconnect.apple.com/ and click the plus sign again. I had to wait for about a minute, but after that a new option showed up when clicking it:
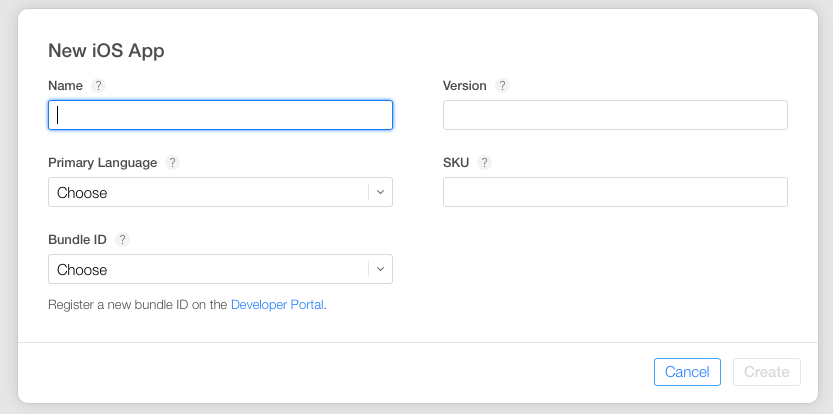
Fill in the values for your app. The sku is not visible on the app store so I entered the name of the app in that field.
4. Lets start unity3D and make our game ready to be uploaded to app store.
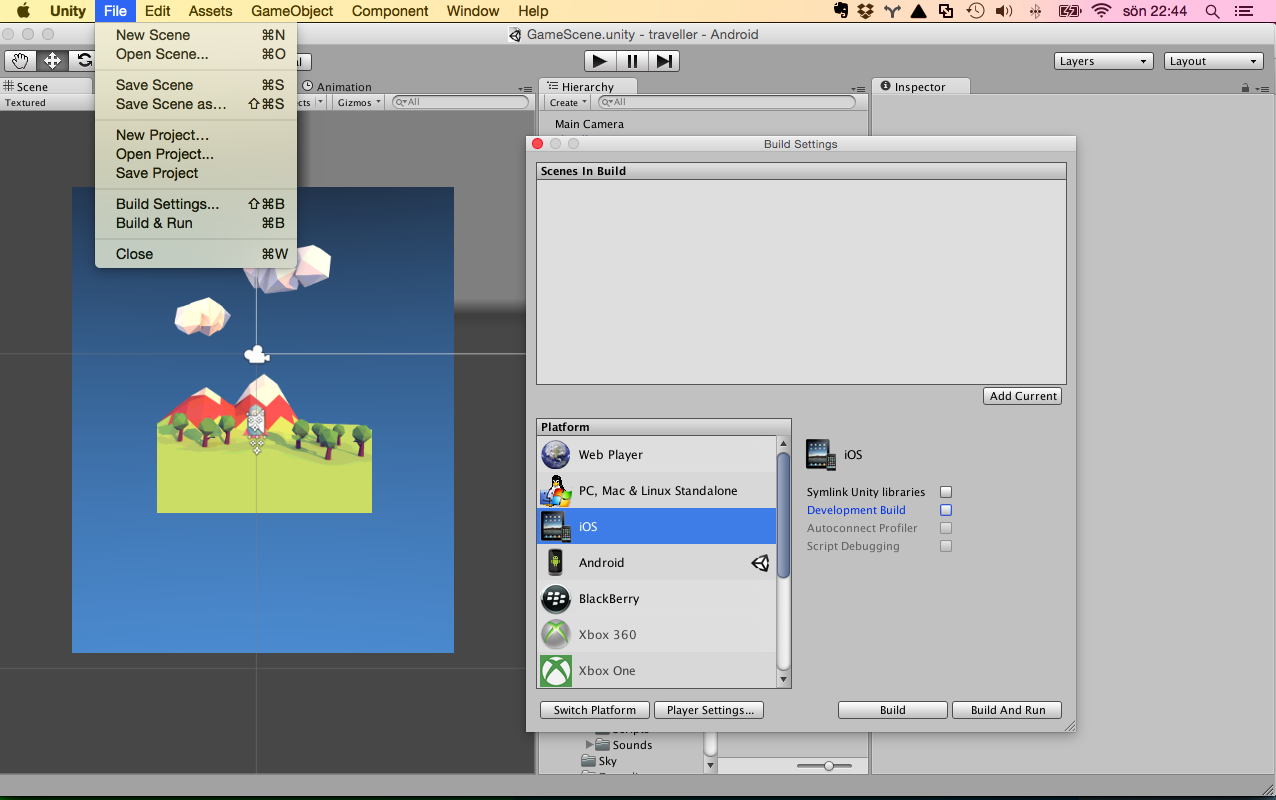
Go into Player settings by clicking File -> Build Settings
Select iOS platform. Deselect Symlink Unity libraries and Development build.
Then click Player settings
5. Set Company name and Product name to the same values as you did in itunes connect.
Also set Bundle identifier (example: com.mygamestudios.mygame) and Bundle version to the values you set in itunes connect, these values are located under Other settings.
Also make sure that scripting backend is IL2CPP and Architecture is set to Universal.
Icons are also mandatory, so if you havent got one made for your game yet, use a temporary icon for now.
Go back to the build settings and click Build.
6. When unity has finished building the game go ahead and open the newly created xcode project by double clicking on the *.xcodeproj file.
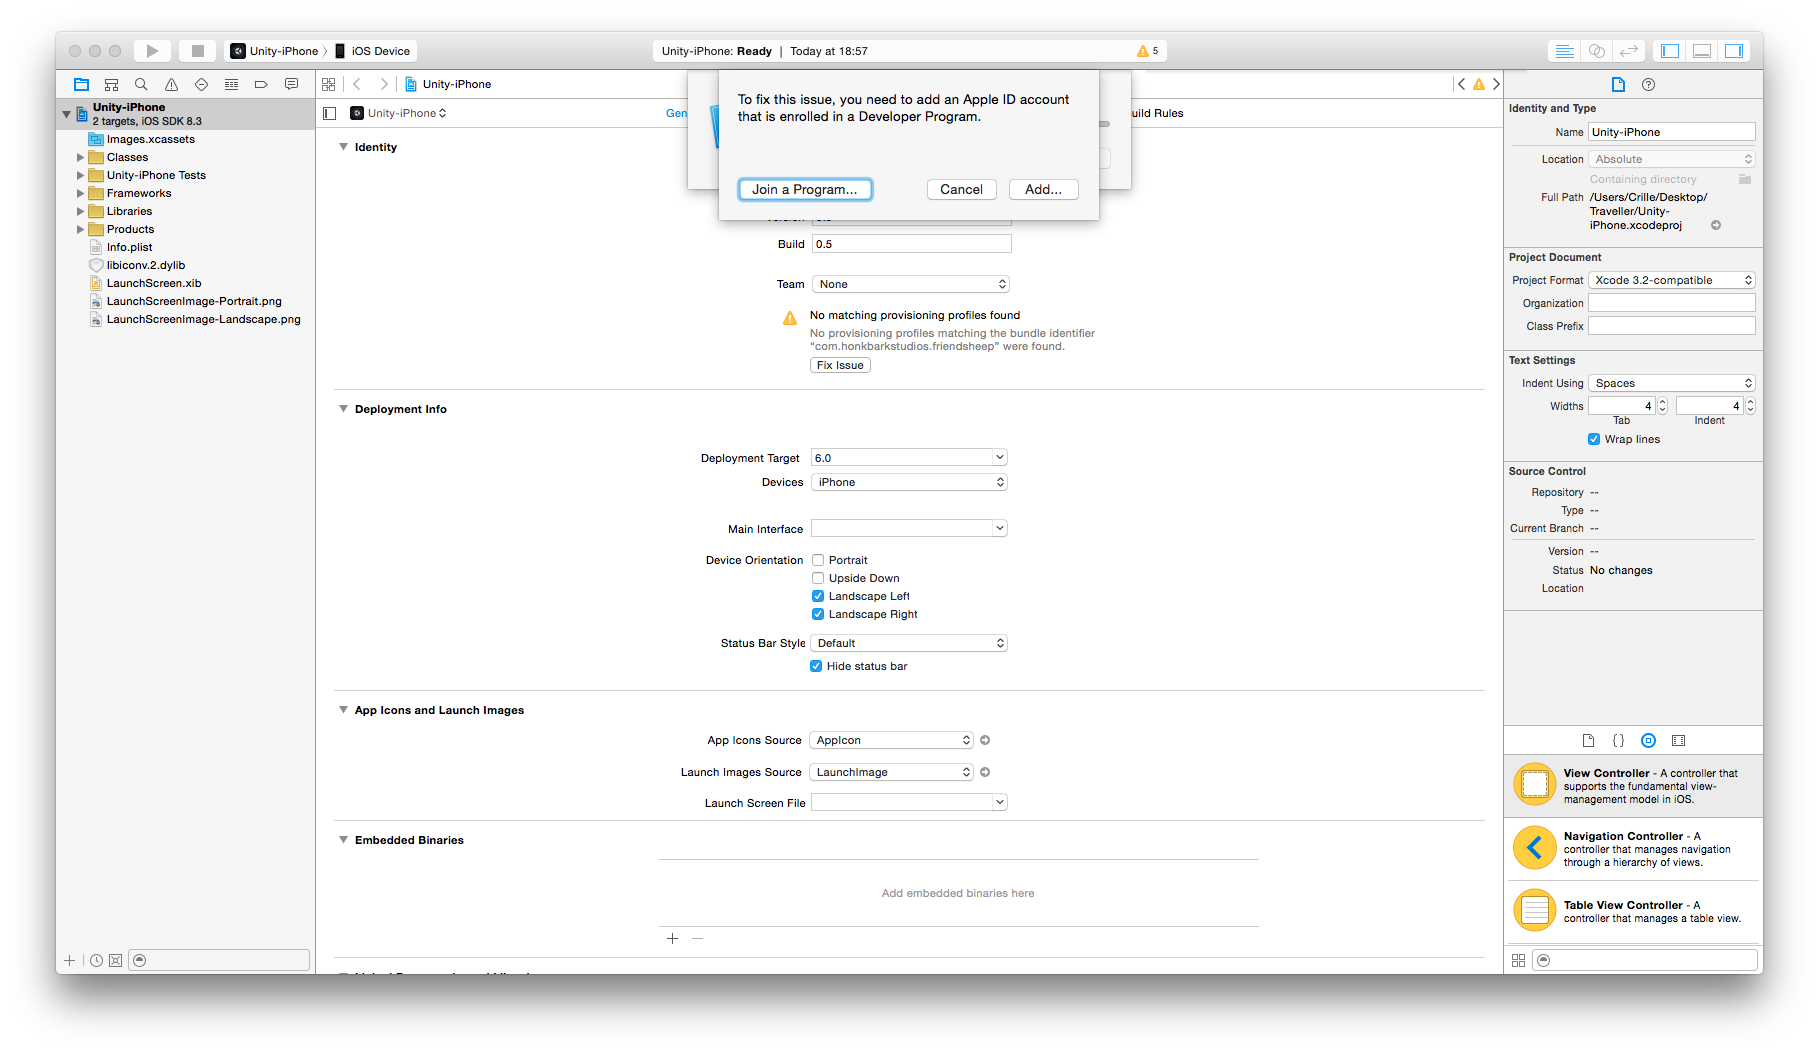
7. Click on the project to the left(the blue icon). And click on Fix issue in where it says No matching provisioning profiles found and then click Add… and sign in to your developer account.
Now a development team will show up if you close the sign in window. Click choose xcode takes care of the problem.
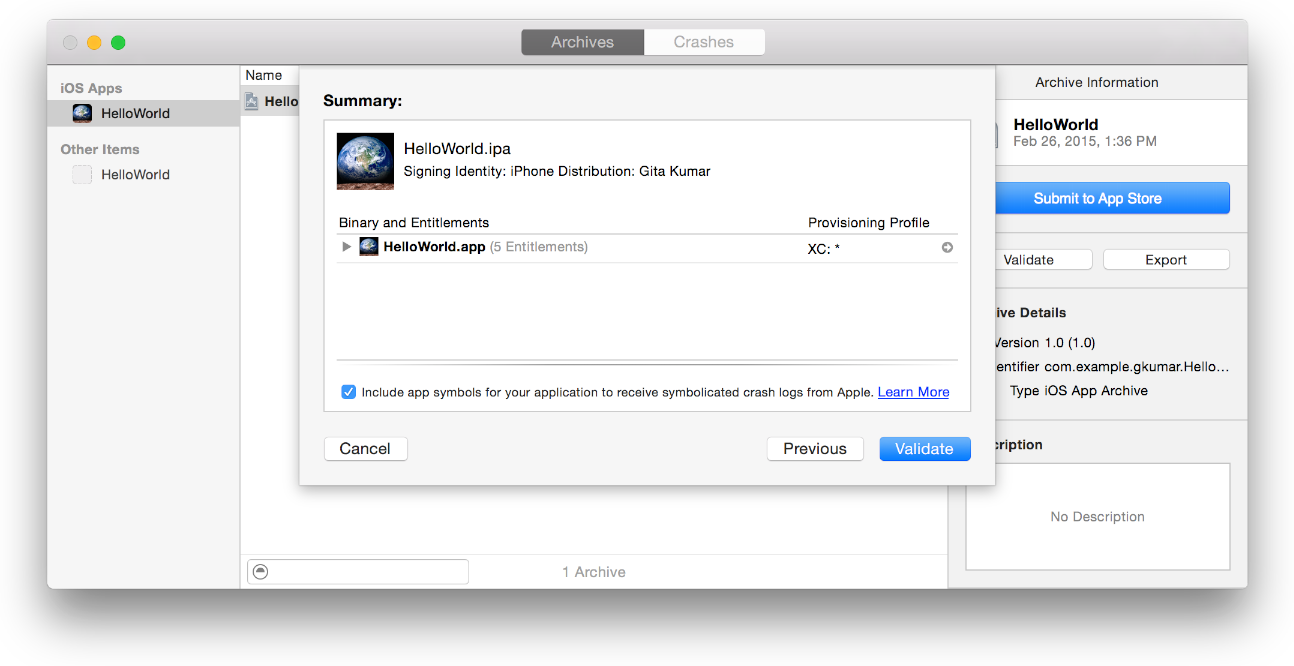
8. Now it’s time to upload the app to itunes connect. Select iOS Device as device name and the go to Product -> Archive in the menu. When xcode is done building the archive click Validate… in the window that appears.

Choose a team in the dialog that appears and click Choose. Review the app in the next window and click on validate. (the image below is borrowed from apples documentation)
At this stage i got an error that said “The network connection was lost”. But i simply clicked to validate the archive again and it was fixed.
9. Now it’s time to click Submit to App store and click Submit in the window that appears.
At this stage another validation is made that is harder to pass than the first one so errors that needs to be fixed might appear here.